 Abdul Basit

Screen recorder lag or FPS drops usually happen because your CPU, GPU, memory, encoder, or storage cannot keep up with the selected recording settings. Start by plugging in your laptop, choosing Windows Best performance mode, closing heavy applications, and testing a lower resolution or frame rate.
For most classes, office demonstrations, tutorials, and software walkthroughs, try 1080p at 30 FPS. On an older computer, start with 720p at 30 FPS. Use hardware encoding when supported, but remember that it cannot fully solve the problem if the GPU is already overloaded.
If the recording still looks choppy, use Task Manager to identify whether the CPU, GPU, memory, or disk is reaching its limit. Change one setting at a time and make a short test recording after every change.
Why Does Screen Recording Lag or Drop FPS?
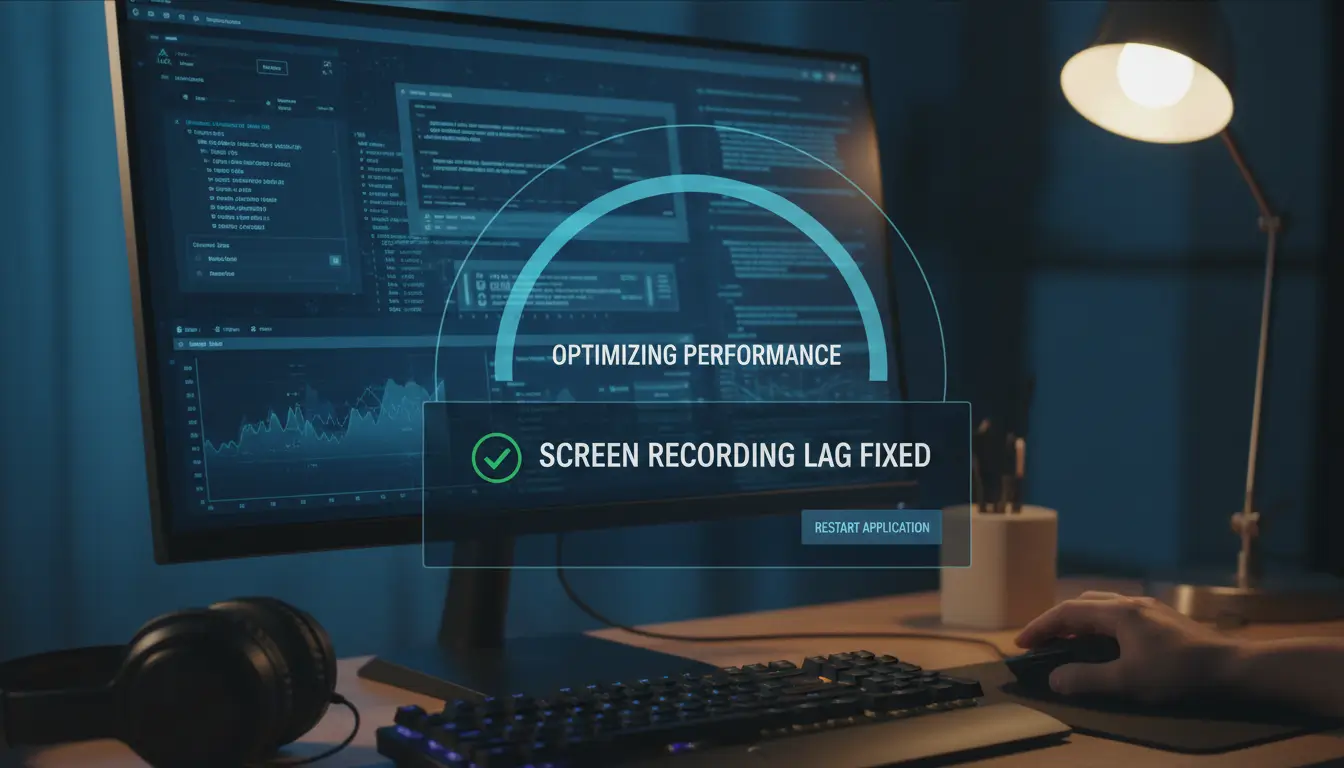
Screen recording adds extra work while your computer is already running a game, browser, presentation, video call, or other application. The recorder must capture frames, process audio, encode the video, and save the file without interrupting the activity on screen.
Lag normally appears when one part of that process cannot keep up.
The CPU, GPU, or Memory Is Overloaded
The CPU may be running the application, processing background tasks, and encoding the recording at the same time. This can cause encoding delays, stuttering, or missing frames.
The GPU also needs enough free capacity to display the application and help the recorder process the captured image. A game running at maximum graphics settings or an uncapped frame rate can leave too little GPU capacity for recording.
Limited memory can create similar problems. Browsers with many open tabs, video calls, editing tools, launchers, and other applications may use the memory your recorder needs.
Windows Is Using a Low-Power Mode
Balanced or power-saving settings can reduce performance, especially on laptops running on battery power.
Windows 11 includes a Best performance power mode for demanding work. It may improve recording stability, although it can also increase battery use, heat, and fan noise.
The Recording Settings Are Too Heavy
Higher settings require more processing power and storage speed.
Common examples include:
- Recording at 4K when 1080p is enough
- Recording at 60 FPS when 30 FPS would suit the content
- Using a very high quality or bitrate setting
- Recording a large display while several applications are open
- Capturing a complex scene with webcam, overlays, effects, and multiple sources
Reducing one or two settings can improve performance without making the video difficult to watch.
The Storage Drive Cannot Save Data Fast Enough
The recorder must continually write video data to your storage drive. Recording can become unstable if the drive is slow, nearly full, busy with another task, or connected through a weak external connection.
An SSD with enough free space is normally a better recording destination than a nearly full or heavily used hard disk.
Background Applications Are Using Resources
Cloud synchronization, downloads, Windows updates, browser tabs, antivirus scans, game launchers, video editors, and other applications may use the CPU, GPU, memory, network, or storage while you record.
Close only applications you recognize and do not need. Do not end unknown Windows processes simply because they appear in Task Manager.
How to Find What Is Causing the Lag
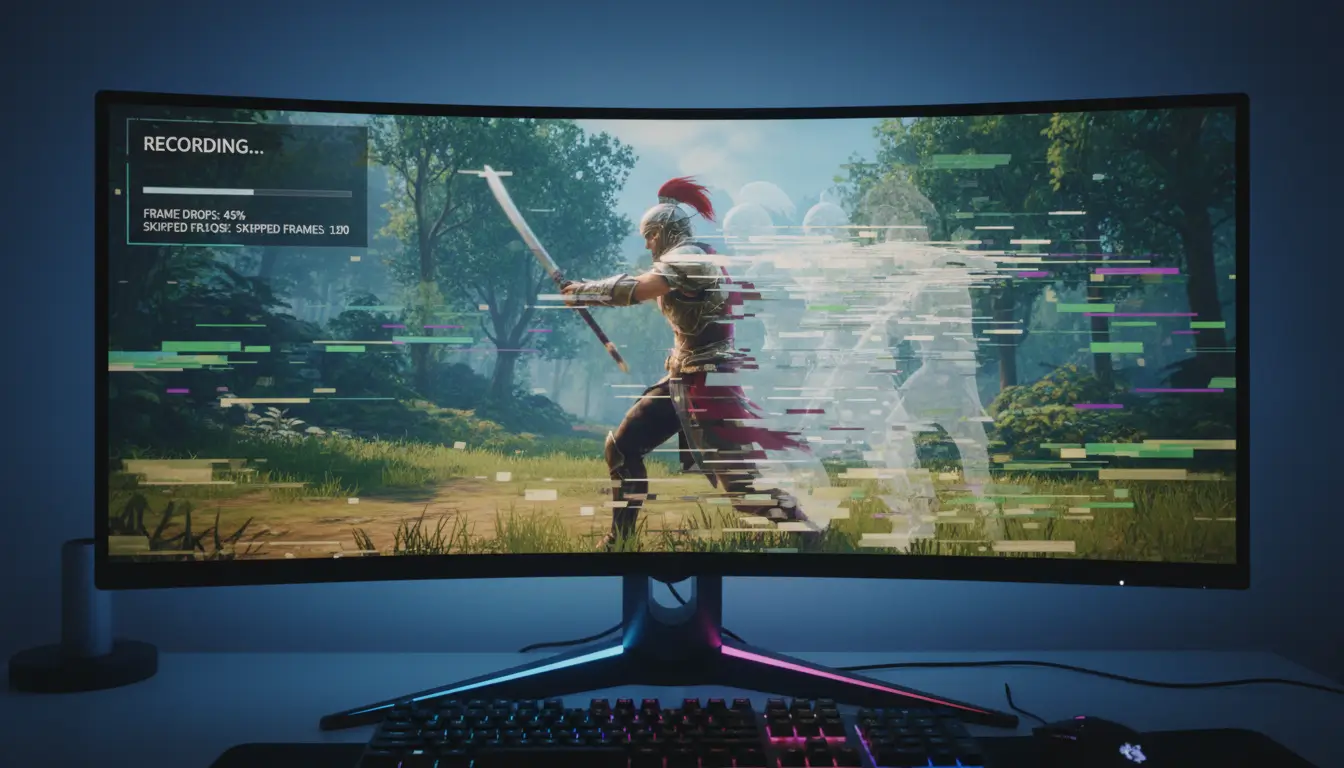
Before changing many settings, identify which part of the computer is under pressure.
Check Task Manager While Recording
Press Ctrl + Shift + Esc to open Task Manager. Select the Processes or Performance section and watch CPU, Memory, Disk, and GPU use while making a short recording.
Use the following signs as a guide:
| What you see | Possible cause | First change to test |
|---|---|---|
| CPU remains near its limit | CPU encoding or heavy applications | Lower FPS, close applications, or test hardware encoding |
| GPU remains near its limit | Game, application, or capture load is too high | Lower graphics settings, cap game FPS, or lower recording resolution |
| Memory is nearly full | Too many open applications or browser tabs | Close unneeded applications and tabs |
| Disk activity remains very high | Slow, busy, or nearly full storage | Record to an SSD, free space, or lower recording quality |
| No resource is heavily used | Recorder settings, compatibility, driver, or playback issue | Update the recorder and test another capture mode |
Brief spikes are normal. Look for a resource that remains very high during the recording.
Compare the Live Screen with the Recorded Video
If the application or game is smooth but the saved recording is choppy, the problem is more likely related to encoding, GPU processing, capture settings, or storage.
If both the live application and the recording become slow, the entire system is probably overloaded.
Also test the recorded file in another reliable video player. Sometimes the recording is correct, but the player struggles with the video format or resolution.
Make a Short Test Recording
Record the same activity for 20 to 30 seconds after every change.
Do not lower resolution, FPS, bitrate, graphics quality, and encoder settings at the same time. Changing one option at a time helps you identify what actually solved the problem.
How to Fix Screen Recorder Lag Step by Step
1. Plug In the Laptop and Select Best Performance
Connect the laptop to its charger before recording. Some laptops limit CPU or GPU performance while running on battery power.
In Windows 11, open:
Settings > System > Power & battery > Power mode
Select Best performance while recording. Return to Balanced mode afterward if you want lower power use, less heat, and quieter fans.
If the option is unavailable, your computer may be using a custom power plan.
2. Check the GPU Used by the Recorder
This step applies only if your computer has more than one GPU, such as integrated Intel graphics and a separate NVIDIA or AMD GPU.
Open:
Settings > System > Display > Graphics
Select or add your screen recorder, open its Options, and test the High performance GPU setting. You may also need to select the same GPU for the game or application being captured.
Save the setting and restart both applications. If capture becomes unstable or produces a black screen, restore the previous option and follow the recorder publisher’s GPU guidance.
3. Lower the Recording Resolution
Resolution controls how many pixels must be captured and encoded.
Try these settings:
- Change 4K to 1080p
- Change 1080p to 720p on an older computer
- Record only the required window or screen area
- Avoid recording multiple high-resolution displays unless necessary
Lowering the output resolution can reduce both GPU and encoder load.
4. Reduce the Frame Rate
A 60 FPS recording requires roughly twice as many frames to be processed as a 30 FPS recording.
Use 30 FPS for:
- Online classes
- Office demonstrations
- Software tutorials
- Webinars
- Presentations
- Normal instructional videos
Use 60 FPS only when smoother motion is important and your computer can maintain stable performance. Gameplay is a common reason to use 60 FPS, but 30 FPS is better than a choppy 60 FPS recording.
5. Reduce Bitrate or Quality One Step
A very high bitrate or maximum-quality preset can increase encoder and storage load.
Do not immediately select the lowest quality. Reduce the bitrate or quality preset by one level, make a short recording, and check whether movement and text still look clear.
The correct bitrate depends on the resolution, frame rate, encoder, content, and recorder. There is no single value that works best on every computer.
6. Use Hardware Encoding When Supported
Many recorders can use supported Intel, NVIDIA, or AMD hardware encoders instead of relying mainly on the CPU.
Hardware encoding often reduces CPU use and can improve recording stability. However, it does not remove the GPU work required to render and capture the screen. If the GPU is already overloaded, you may still need to lower game graphics, output resolution, or FPS.
Test both the available hardware encoder and the default encoder. Keep the option that gives the most stable result on your computer.
7. Close Heavy Background Applications
Before recording, close unnecessary applications such as:
- Browsers with many tabs
- Video editors
- Game launchers
- Cloud synchronization tools
- Other screen recorders
- Large downloads
- Unneeded overlays and FPS counters
- Applications using the webcam or microphone
Pause large file transfers, software updates, and cloud backups until the recording is complete.
8. Record to Faster Storage
Choose an internal SSD when possible and confirm that it has enough free space.
Avoid saving an important recording directly to:
- A nearly full drive
- A slow external hard disk
- A weak USB connection
- A network location with unstable performance
- A folder being actively synchronized to the cloud
You can move the completed file to another drive or cloud folder after recording.
9. Update the Recorder and Graphics Driver
Install updates for the screen recorder because newer releases may contain compatibility and performance fixes.
For graphics drivers, start with Windows Update. If a suitable update is not available, use the official website or application provided by the GPU or computer manufacturer.
Avoid random driver-download websites. An incorrect or modified display driver can create more problems than it solves.
10. Reduce Game Load While Recording Gameplay
If gameplay is smooth until recording begins, the game may be using nearly all available GPU capacity.
Try the following:
- Cap the game frame rate
- Enable V-Sync when appropriate
- Lower shadows, reflections, anti-aliasing, or other demanding settings
- Close GPU overlays and other capture applications
- Lower the recording resolution or FPS
- Record a simpler scene without unnecessary sources
The goal is to leave enough GPU capacity for both the game and the recorder.
Best Screen Recording Settings to Try First
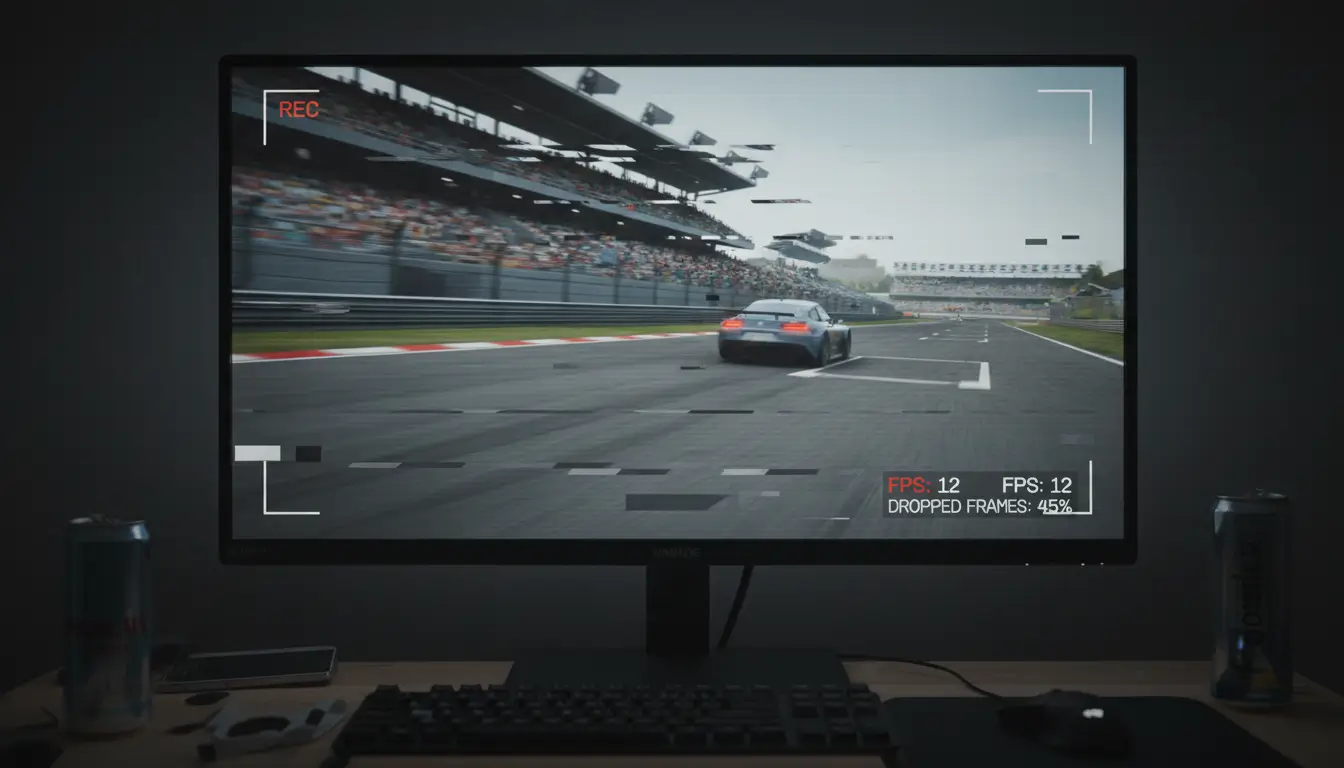
The settings below are practical starting points, not fixed requirements.
| Recording purpose | Starting resolution and FPS | Additional guidance |
|---|---|---|
| Online classes and meetings | 1080p at 30 FPS | Prioritize clear audio and stable performance |
| Software tutorials and office demos | 1080p at 30 FPS | Record only the required window or area |
| Older or low-spec computer | 720p at 30 FPS | Close browsers and use a moderate quality setting |
| Gameplay | 1080p at 60 FPS only if stable | Fall back to 1080p at 30 FPS and reduce game load |
| 4K recording | Use only when necessary | Test storage, encoder, GPU, and file size first |
Always make a short test that includes movement, microphone audio, system audio, and the application you plan to capture.
When the Screen Recording Software May Be the Problem
Your computer may meet the required specifications, but the recorder itself may still be unsuitable for your capture method or workflow.
Consider testing another recorder when:
- The application repeatedly crashes during normal recordings
- Audio and video regularly become unsynchronized
- The recorder lacks useful resolution, FPS, or encoder controls
- It cannot capture the required game, window, or application correctly
- Updates have stopped
- It is incompatible with your current Windows or macOS version
- The free version adds limits that interfere with your work
You can browse screen recorder software in Pakistan for genuine options suited to classes, tutorials, office demonstrations, content creation, and gameplay.
If changing the settings does not solve the problem, compare other options in our best screen recording software in Pakistan guide.
If you are deciding between specific paid tools, compare Movavi Screen Recorder vs EaseUS RecExperts vs DemoCreator for simple recording, advanced capture controls, and video editing.
Conclusion
Screen recorder lag usually comes from excessive CPU or GPU load, heavy recording settings, limited memory, slow storage, or background applications.
Start with Best performance power mode, 1080p at 30 FPS, hardware encoding when supported, fewer background applications, and an SSD with enough free space. For gameplay, also cap the game frame rate or lower its graphics settings so the recorder has enough GPU capacity.
If your video is smooth but the microphone or system audio is missing, follow our screen recorder no sound in Windows 11 troubleshooting guide.
Explore more practical help in our Screen Recording Software Guides in Pakistan.
FAQs
Q: What causes screen recorder lag or FPS drops?
A: Screen recorder lag normally happens when the CPU, GPU, memory, encoder, or storage cannot keep up with the recording settings. Heavy background applications can also reduce the resources available to the recorder.
Q: Why is my game smooth but the recording looks laggy?
A: The game may be using most of the available GPU capacity, leaving too little for screen capture and encoding. Cap the game frame rate, lower graphics settings, close GPU-intensive applications, and reduce recording resolution or FPS.
Q: Should I record at 30 FPS or 60 FPS?
A: Use 30 FPS for classes, tutorials, presentations, office demonstrations, and most general recordings. Use 60 FPS for faster movement or gameplay only when your computer can maintain it without dropped frames.
Q: Does hardware encoding reduce screen recording lag?
A: Hardware encoding can reduce CPU use by using a supported GPU encoder. It often improves performance, but it will not fully solve lag when the GPU is already overloaded by a game or other application.
Q: Does slow internet cause a local screen recording to lag?
A: Slow internet normally does not affect a recording saved directly to your computer. It may affect the activity being recorded, such as a video call or online stream. During live streaming, network-related dropped frames are a separate problem.
Q: Will Best performance power mode fix recording lag?
A: It may help when a laptop or desktop is limiting performance under a Balanced or power-saving mode. It is not a complete fix if the recording settings are too demanding or another hardware resource is overloaded.
Q: Is an SSD better for screen recording?
A: An SSD is normally a better recording destination because it can save video data faster than many hard disks. Keep enough free space available and avoid recording to a drive that is already busy with downloads, updates, or cloud synchronization.